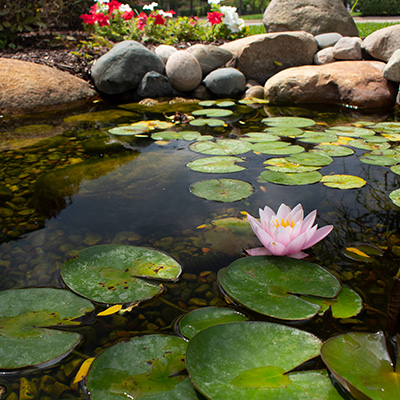
If you have a water garden, adding aquatic plants like water lilies is a great way to enhance the beauty of your outdoor space. Available in many colors, water lilies bloom all summer long and, with proper care, can last through the winter. They also have several functional benefits, providing shade and protection for fish and natural filtration to improve water clarity. In this guide, we’ll cover how to plant and care for water lilies year-round. Keep scrolling or click on a topic below to jump to the section you want to read:
Planting Supplies
If you’re new to gardening, don’t worry. Growing water lilies is a simple process, and you only need a few things to start:
- Water Lily Pot : Choose a five-gallon pot for one water lily or a nine-gallon pot for two water lilies.
- Aquatic Planting Soil: Use 10-pounds for one water lily or 20-pounds for two water lilies.
- Aquatic Planting Media: A layer on top protects roots from fish while trapping oxygen and promoting beneficial bacteria colonies.
- Water Lily Fertilizer : For vigorous growth and beautiful blooms all season.
- Hardy Water Lilies: Choose from many beautiful colors. Lilies are shipped bare root to promote the best growth.
- Gravel or Pebbles (Optional): These can be used to top your media and help conceal the pot in your pond.
As you assess what you need, make sure to order your supplies along with or ahead of the water lily itself. This way, you can start planting as soon as your lily arrives. Also note your area’s hardiness zone to ensure water lilies can thrive in your climate. Our hardy water lilies grow best in zones 4-11.
Planting Water Lilies in Six Steps

Once you have all your supplies and your water lily arrives, follow these steps:
- Add Planting Soil: Start with a thick layer of aquatic planting soil, filling the pot about 3/4 full.
- Plant the Water Lily: Place the water lily in the layer of aquatic plant soil. The tuber should be planted horizontally within this layer, with the root end close to the wall of the pot and the growing tip pointed upward and exposed above the soil.
- Cover the Soil: Cover the soil with a layer of media to trap soil and protect roots, preferably The Pond Guy Aquatic Planting Media, for best results, but gravel or pebbles will do in a pinch.
- Place Pot in the Pond: Thoroughly soak pot. Then slowly submerge the entire pot in your pond, leaving between three and six inches of water above the growing tip.
- Fertilize: Every two to four weeks, insert one or two fertilizer tablets into the planting soil layer of your pot.
- Relocate the Pot: Once the leaves grow enough to reach the surface of the water, move the pot to a deeper area of your pond.
Seasonal Water Lily Care
Water lilies require minimal maintenance, but there are a few things to do in each season to keep them healthy:
Spring Water Lily Care
As spring rolls around, keep track of how large your water lilies have grown. They typically need to be divided every two or three years, and you’ll know it’s time if you’re seeing fewer blooms or the pot is starting to split apart. When that time comes, follow these steps to divide them properly:
- Take your pot out of the pond and carefully remove the tuber.
- Rinse off any soil and trim root growth and dead leaves.
- Locate the buds where new blooms will grow and cut tuber between them. Each tuber should be three to four inches long.
- Follow the steps above to plant each water lily in a new pot and place them back into your pond.
Summer Water Lily Care
To promote healthy growth and beautiful blooms, continue to add one or two fertilizer tablets to the soil layer of your water lily pot every two to four weeks.
Winter Water Lily Care
How you handle the winter months will depend on your typical climate. If your area doesn’t experience ice or frost, continue your summer routine by fertilizing periodically. If you do experience ice and frost, follow these steps to prepare your water lily for the winter season:
- Following the first frost, remove any foliage from the plant.
- Place the pot in the deepest part of your pond.
- The plant will become dormant until spring.
Wrapping Up
Now you know how to plant water lilies in your pond and care for them all year round! We hope these tips help you take your outdoor space to the next level. If you have any questions about our recommendations above, contact our team of pond experts, and we’ll be happy to help!
Read More Aquatic Planting Tips
Do you have more pond gardening questions? Reach us at 866-POND-HELP (766-3435) or check out these articles below:
How to Pick Aquatic Plants
Adding Aquatic Plants
How to Divide Pond Plants
Sources
- U.S. Department of Agriculture. “USDA Plant Hardiness Zone Map” https://www.usda.gov/. 5 August 2022.
Last Updated: February 15, 2024